
This week’s post is quite different. It took me the entire last week to prepare it because I wanted to experiment two different spinning methods; worsted vs. woolen.
You may already know the difference, and there is a lot of theoretical references in the web, magazines and books. That is what I consulted at first, but I really wanted to experiment myself to see the difference between the outcome yarn. Obtaining worsted and woolen yarns depend on many factors. The type of fiber, how you prepare it, and the drafting technique you use to spin it. In the following paragraphs and pictures, I will take you through these factors, so let’s start.
The Fiber
For this experiment I choose two type of fibers that were already blended: Polwarth & Tussah Silk Both fibers have a staple length between 6″-7″ The micron count are between 23 and 24, however the silk can go to 28 micron count. Please see below a picture that shows the length.

Fiber staple length
I could have chosen two different types of fiber, but I wanted to see what happens if I use the same for both methods.
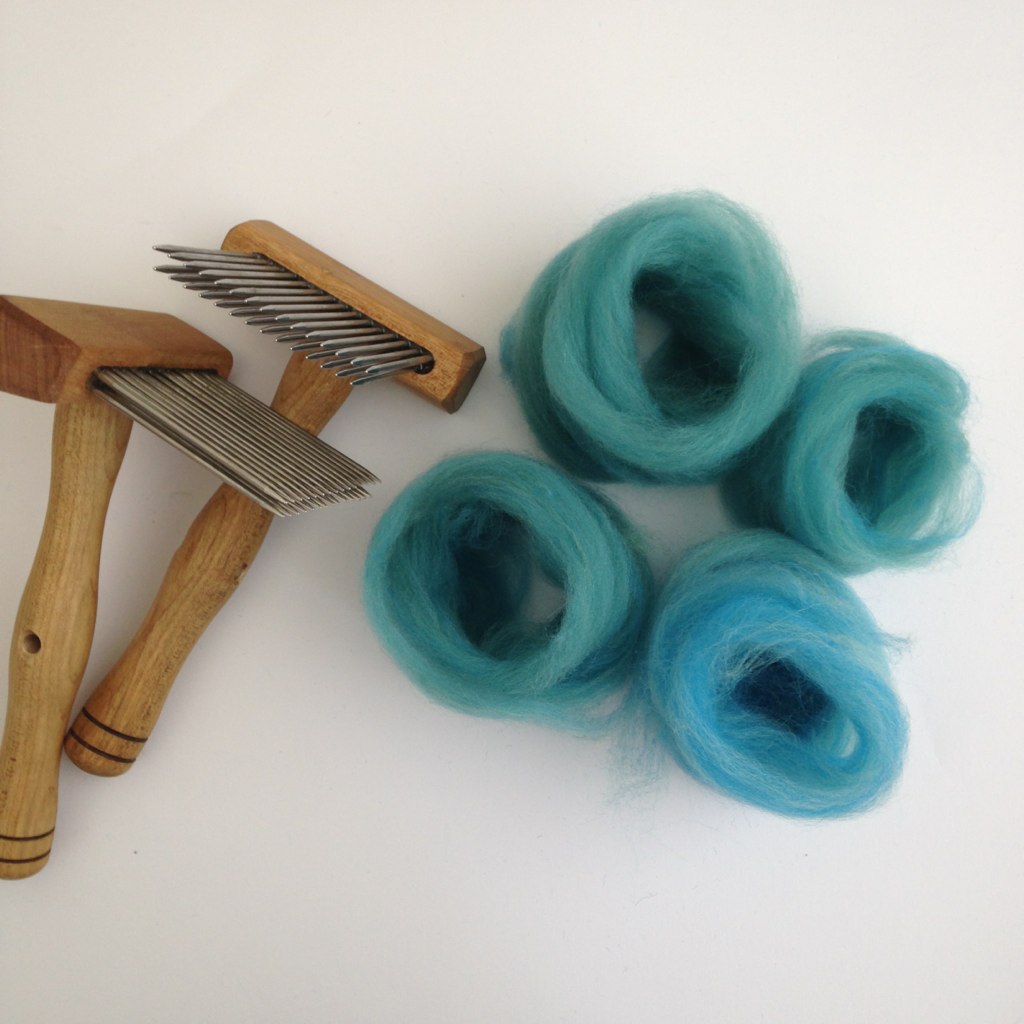
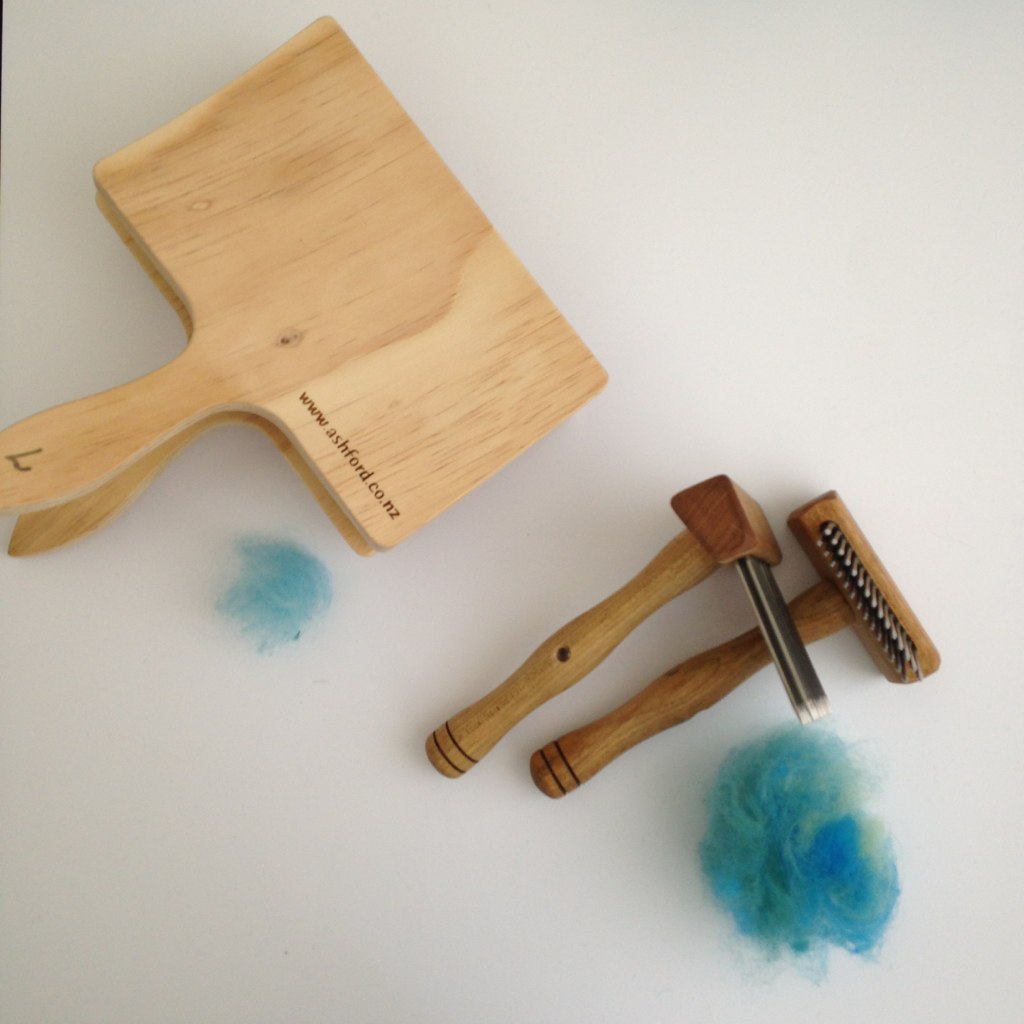
The Equipment
In order to prepare the fiber in one way or another, I needed to use two kinds of equipment: hand carders for woolen; and wool combs for worsted.
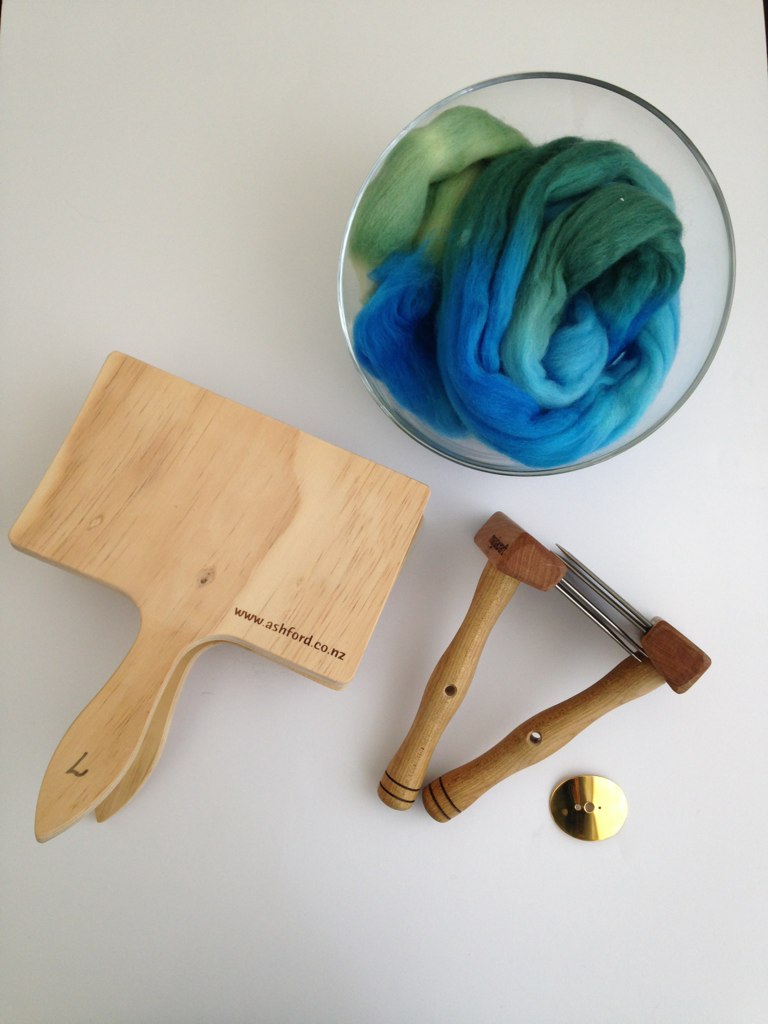
Equipment: Left: hand carders 72 points. Right: wool combs with double pitch
Hand carders are used to mix fibers with different length and micron counts. When you card your fibers, they will cross with each other creating a web, just like Judith MacKenzie described them in her book “The Intentional Spinner.” On the other hand, wool combs will separate different lengths of fibers, and will align them instead of crossing.
Fiber Preparation
Woolen:
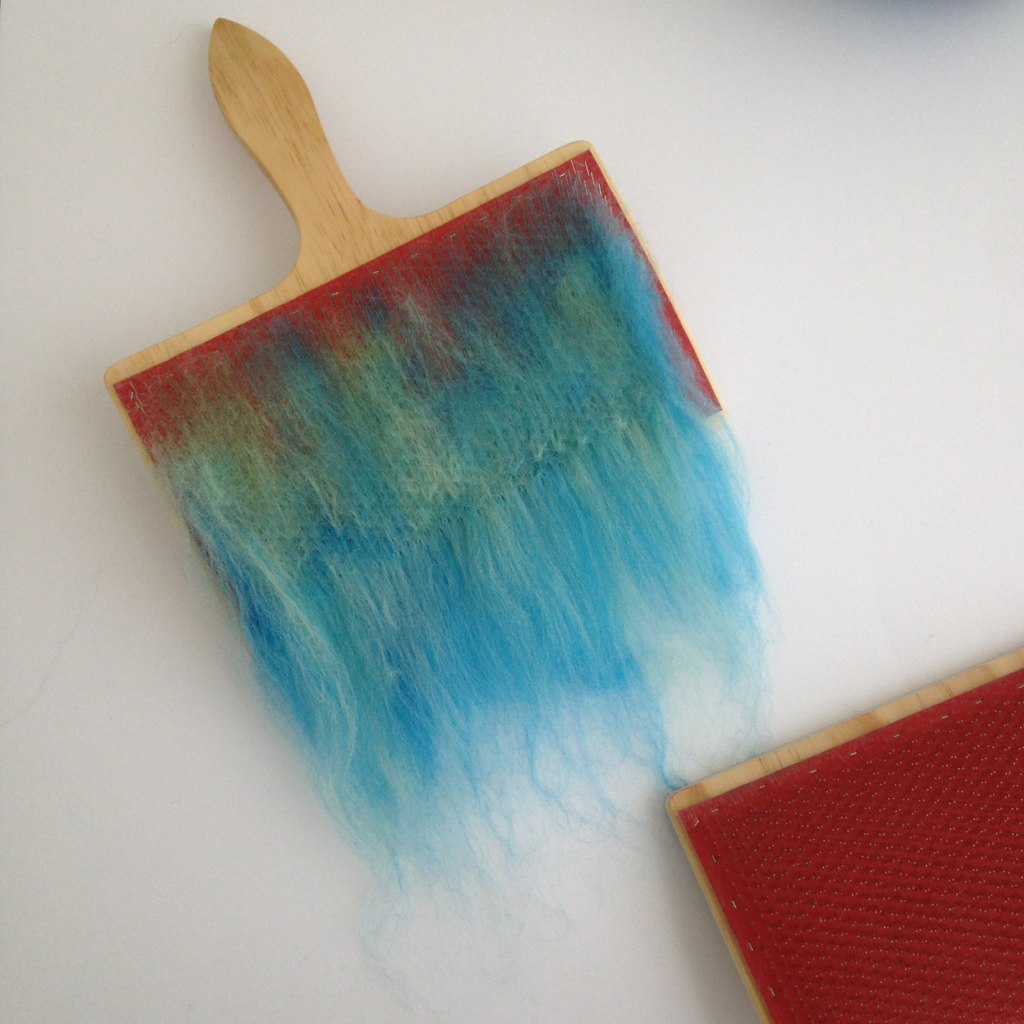
Carding process
As you can see from this picture, the fibers are too long when carded. The experts would say that they are way too long. In general, in order to card yarn, you have to choose fibers with shorter staples, not longer than the size of your hand carders. But again, this is an experiment.
Once I carded my fiber, I was able to create rolags. Here you can find an excellent description of what a rolag is among with other types of fiber preparation.

Rolags ready to spin
Worsted:
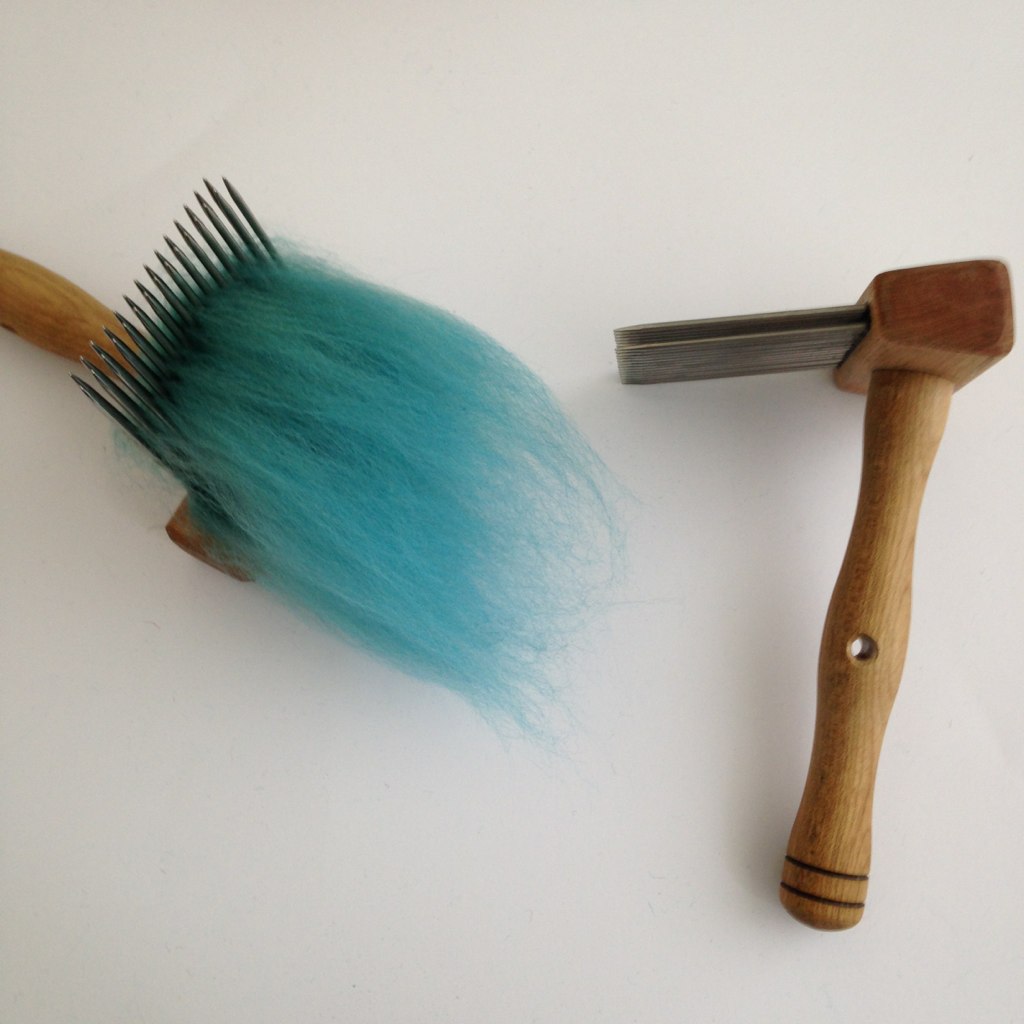
Combed fiber
The above picture shows the wool already combed. As you can see, the fibers are aligned in one direction and are ready to be pulled out with a diz or your hands. Once I finished, I obtained slim tops that became bird nests ready to spin.
Wool combs and bird nests
Before going into the spinning and drafting techniques I used, I would like to show you the waste I got using both methods of fiber preparation. In the following picture you can see the amount of waste next to the hand carders, which is small. Contrary to the waste that is next to the combs, this is considerably larger.
Fiber waste after preparing the fiber
Well, you can use the waste for felted project or as stuffing for toys, but it is good to know beforehand that you will have more waste combing your fiber than carding it.
Drafting techniques
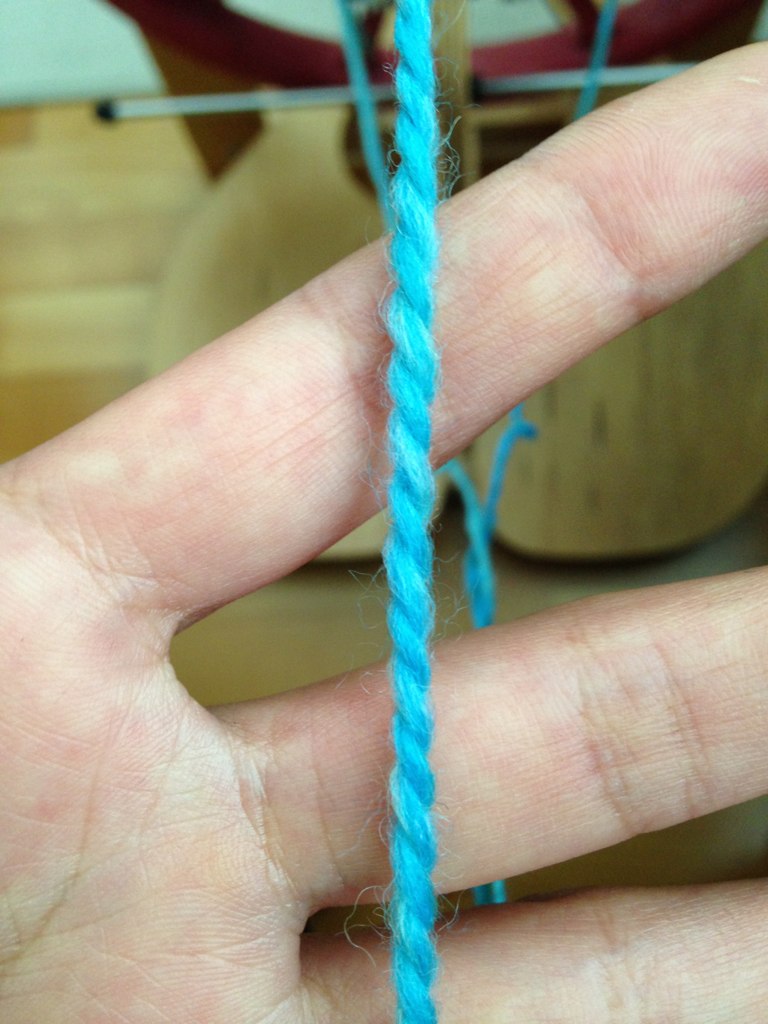
Woolen: The drafting technique I used for spinning woolen yarn was the long draw. This technique allows the twist in the fibers before they are in tension or attenuated. I drafted back, which means that I drafted the fiber pulling backwards.
Errata: In my original post I used a long draw technique that is used for woolen yarns. However, I used my combed fibres which gave me as a result a semi-woolen yarn. If I had used the short draw, I would have had a true woolen yarn.
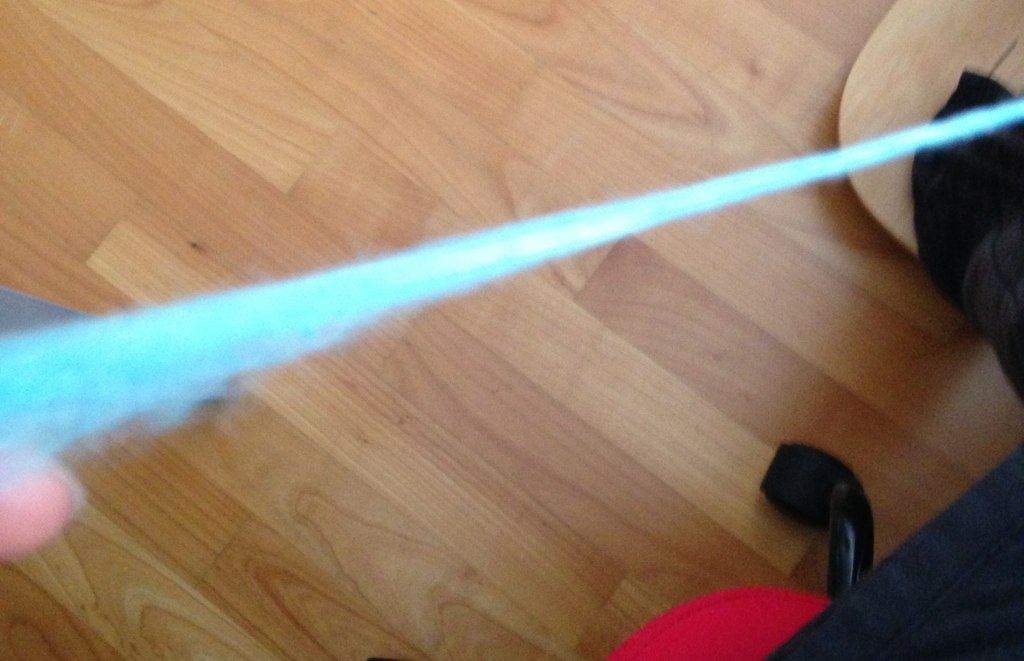
Long draw
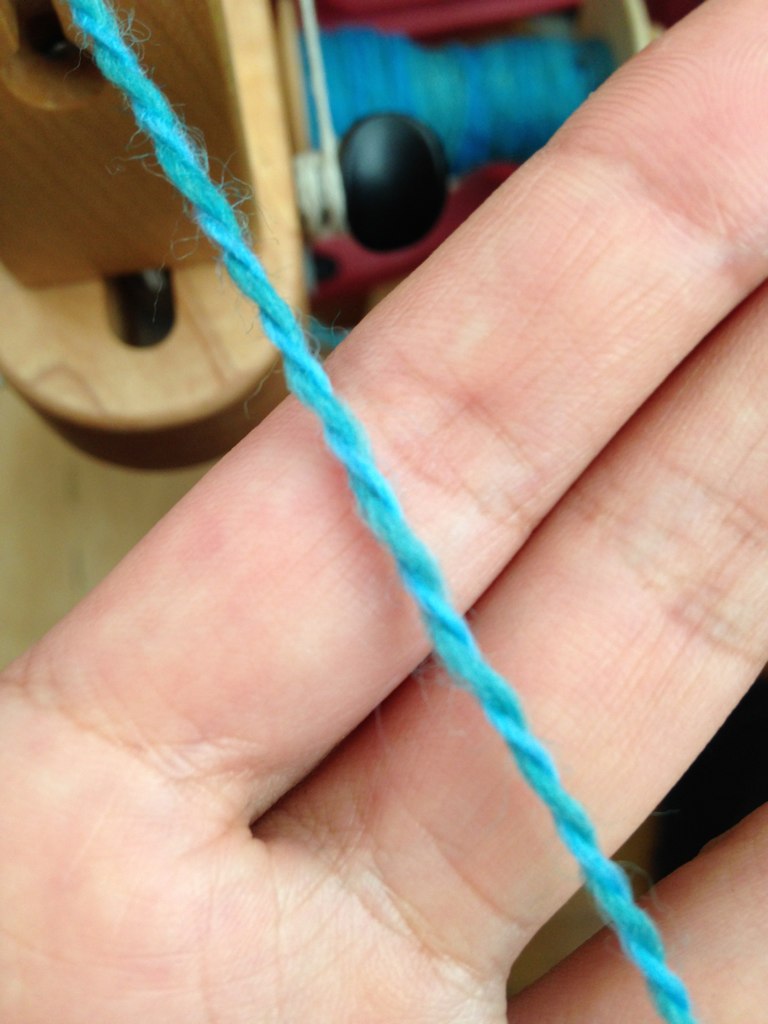
Worsted: I used the short draw that allows the twits in the fibers under tension. The drafting is forward, which means that I pulled the fiber towards the wheel.
Errata: In my original post I used a short draw technique that is used for worsted yarns. However, I used my carded rolags fibre which gave me as a result a semi-worsted yarn. If I had used the long draw, I would have had a true worsted yarn.
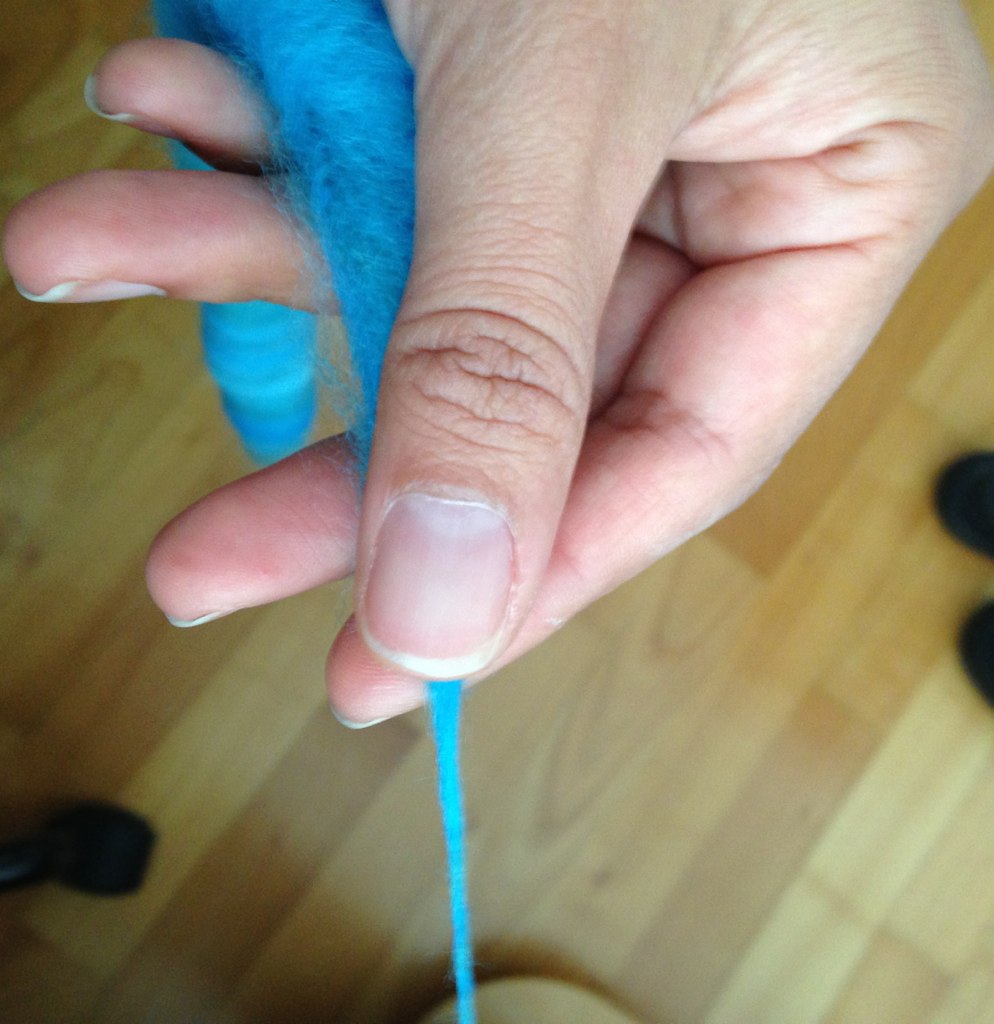
Short draw
Once I finished the singles I let them rest for a entire day, and I plied them in the evening. The general rule is to leave the singles for at least overnight in order to have them rest and the twist relax. If you have energised singled for different projects such as textured yarn, it is better to leave the singles for more days.
The plied yarn and finished skeins
Below I added the pictures of the plied yarns. Both are 2 ply, and you can see already the differences between them; but I will deepen into the details when I talk about the swatches I knit.
Semi-Woolen yarn 2 ply
Semi-Worsted yarn 2 ply
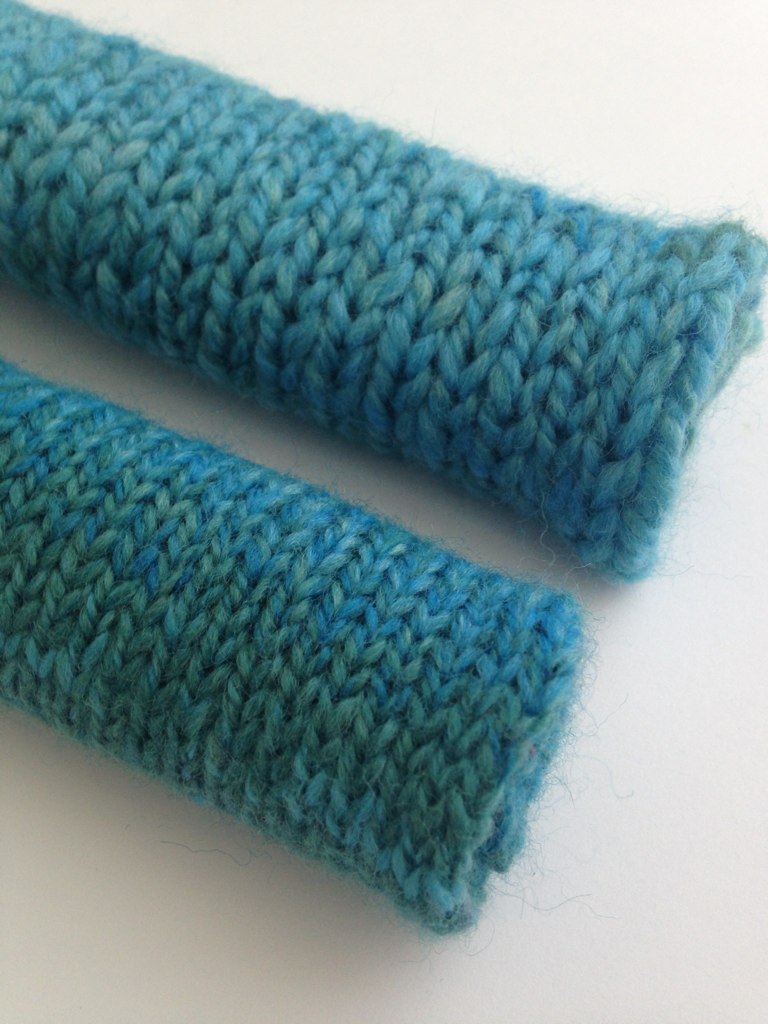
I let the plied yarn rest overnight on the bobbins before skeining; and I washed them the following morning; it took me a day to dry. Before the finished yarns. I obtained a bulky weight yarn using woolen method; and worsted/DK weight, using the worsted method.
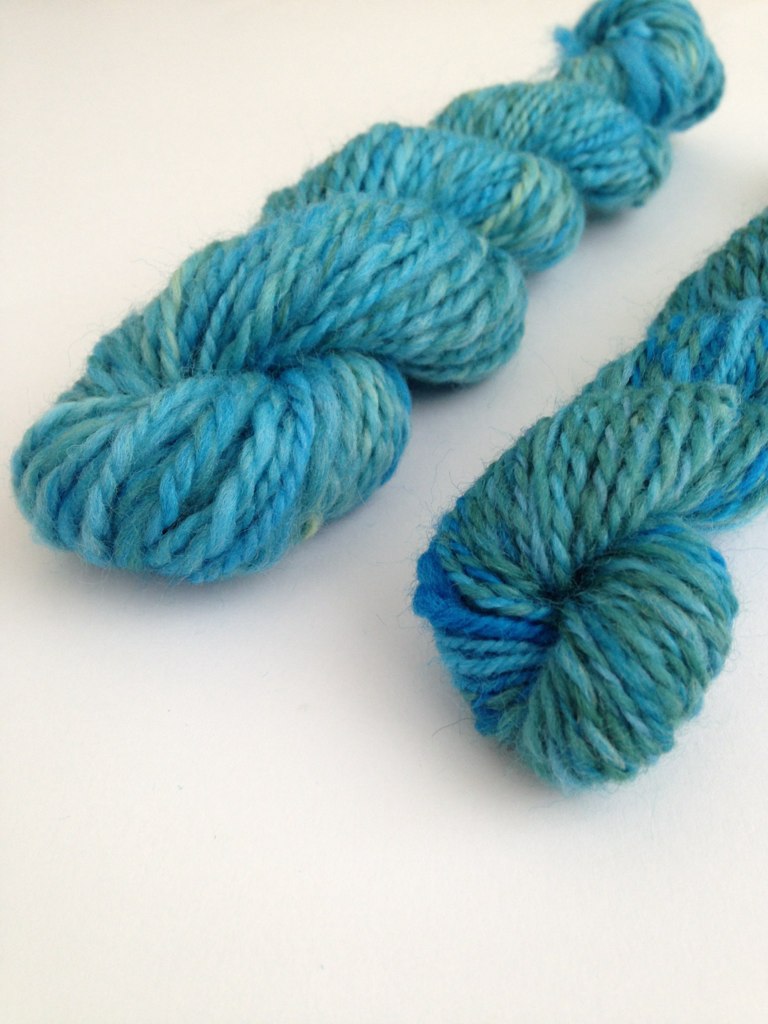
Semi-Woolen (left) – Semi-Worsted (right)
The Swatches
Swatching the yarns was part of my experiment; as by only doing it, I would be really able to see the differences in the final fabric. For the semi-woolen swatch, I cast on 30 stitches using a needle size US11/8mm. I knit in stockinette stitch for 32 rows. In fact, I knit until I was almost run out of yarn. I wanted to use the entire skein. The gauge I obtained was 21st/28 rows for 4″.
For the semi-worsted swatch I did the same. I cast on 30 stitches but using this time a needle size US7/4.5mm. I knit also in stockinette stitch, but for 70 rows. My gauge was 12st/17 rows for 4″. Below you can see the finished swatches before blocking.
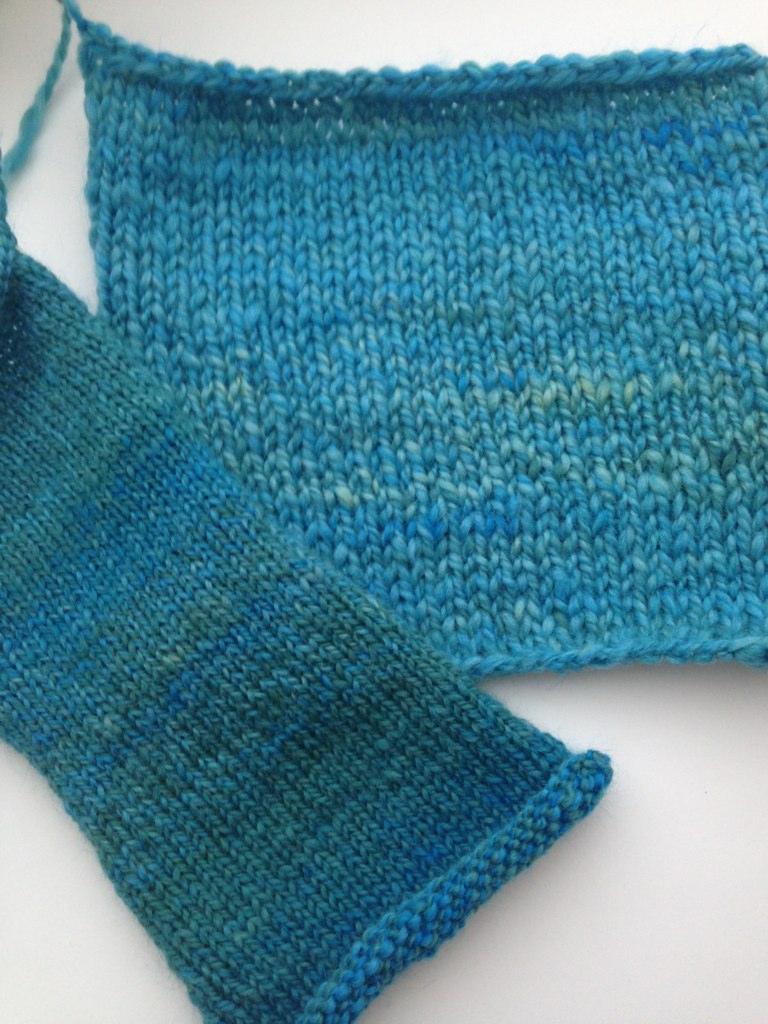
Finished swatches: semi-Worsted (left) – semi-Woolen (right)
The next step was giving the swatches a bath of 30 minutes; then I gently pressed the swatches with a towel to take the water away. I lied them on my blocking math and pinned them down. As can be seen from the pictures below, I needed to use more pins (18) for the semi-worsted swatch because the cast on and bind off borders; and the edges were curling.
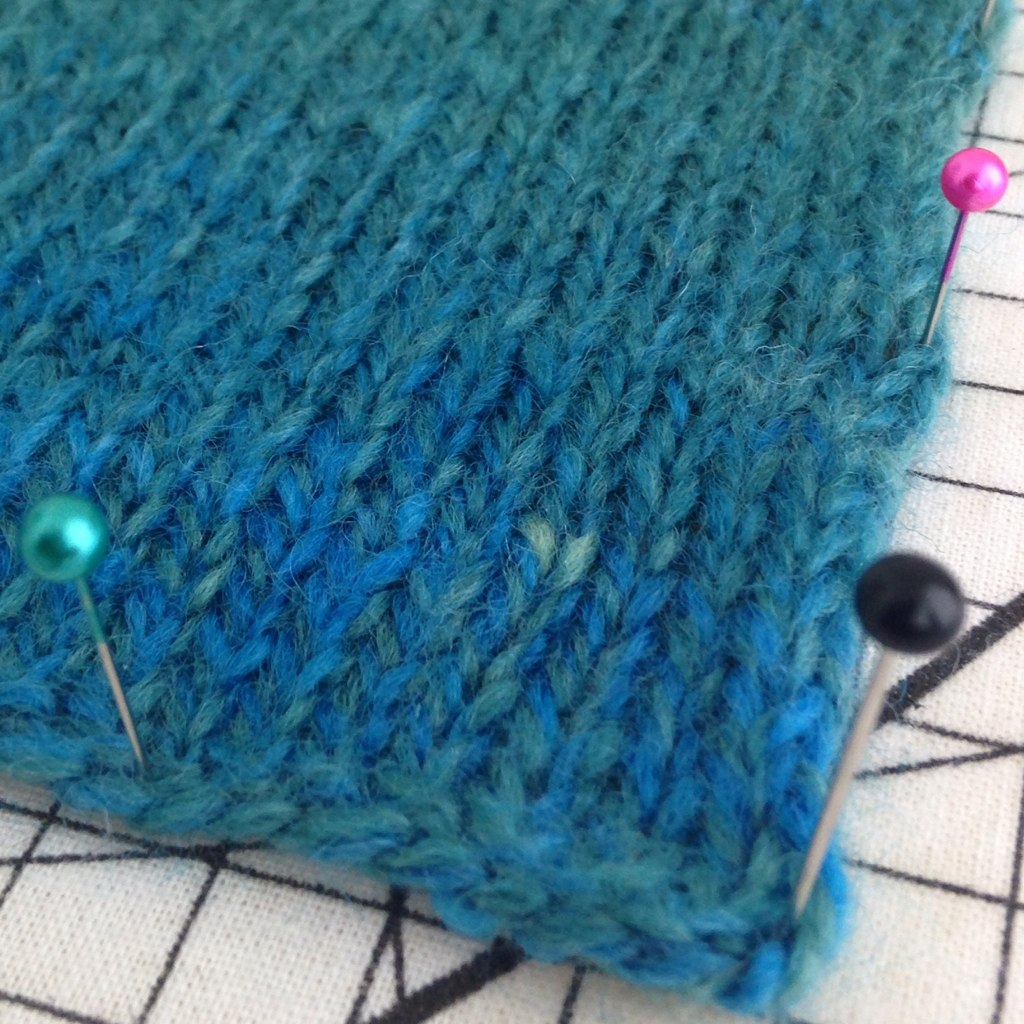
Semi-Worsted swatch
On the other hand, I only required 8 pins to block the woolen swatch. The fabric was more relaxed.
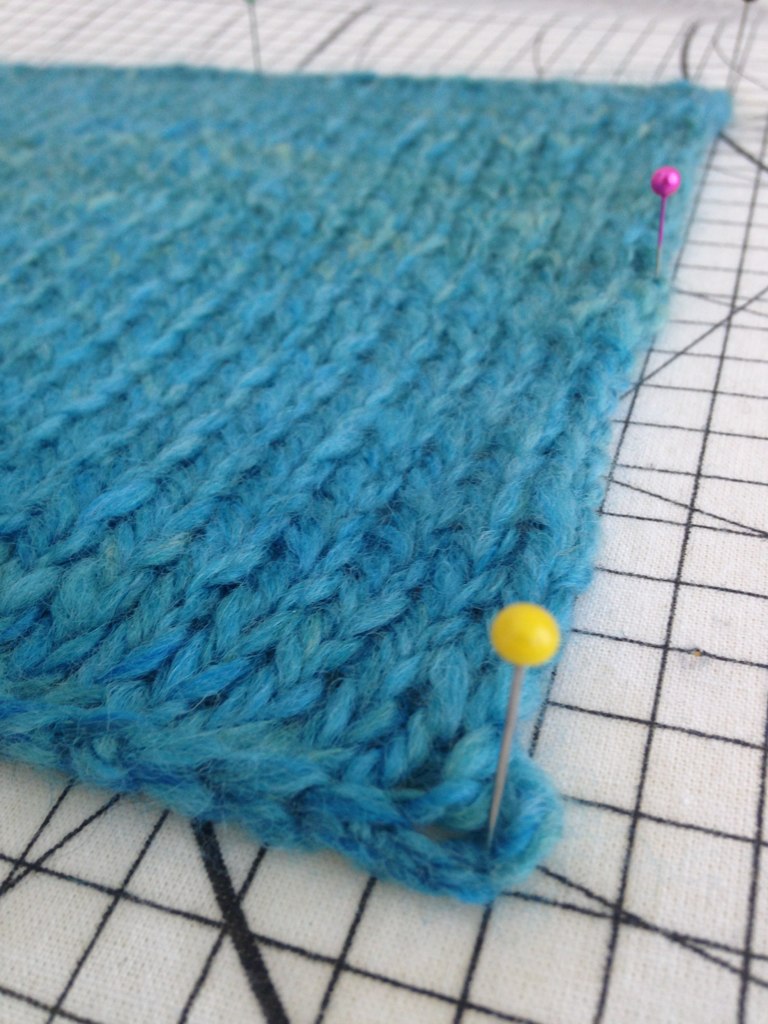
Semi-Woolen swatch
The results
Let me list the different characteristics I found about the yarn with my swatches.
Semi-Woolen:
- Light fabric due to the lofty and airy yarn.
- Very stretchy
- Very soft / Fluffy
- It loses the shape faster while pulling the fabric through the side edges.
- It has drape
Semi-Worsted:
- Heavier fabric / dense
- Stretchy
- It has drape
- Soft
- It returns to its shape after pulling the fabric through the side edges
Conclusion
I think there is no “best way” in using these methods of spinning. After doing this experiment, I believe that it depends on the type of project you have in mind, because it will determine which one to use. After finding the characteristics of each swatch I can see myself knitting with the semi-woolen yarn big and lofty sweaters, hats and scarfs. But I certainly know that they will not last long, and they will pill very fast. However, I liked the how light and soft the fabric was. I would use the semi-worsted yarn to knit as well fitted sweaters and cardigan, gloves, socks (3 or 4ply), shawls, scarfs, etc. The strength of the fabric is noticeable and they will last longer and keep the shape. They will not stretch as I can see from the semi-woolen swatch.
Semi-Worsted vs Semi-Woolen swatches
Before doing this experiment I was into worsted spinning; I did not like spinning woolen, but I got to like it. I am so happy I have done this; and I think am a better spinner than I was one week ago.
I encourage you to try it as well, you will definitely have as much as I had.
Errata:
Thank you dear readers for checking out my post of 5 years ago. This was an experiment and I just noticed that I inverted the drafting techniques. Thanks to the ones that pointed it out to me. The end result of my experiment gave me semi-woolen and semi-worsted yarns. I will make the same experiment in another post, this time with the correct drafting techniques. Stay tunned!
That is all my friends. Thanks for stopping by and I hope you enjoy this post! Leave me any comment or suggestion if you like, and feel free to share this post with your friends and community. Also remember you can follow me on Twitter, Facebook, Instagram, Ravelry, Tumblr, Flickr and Pinterest!